Hello and TGIF!!!!
I am so looking forward to the weekend. I have lots to do today and I am running out to a doctor's appointment, so I will make this post quick.
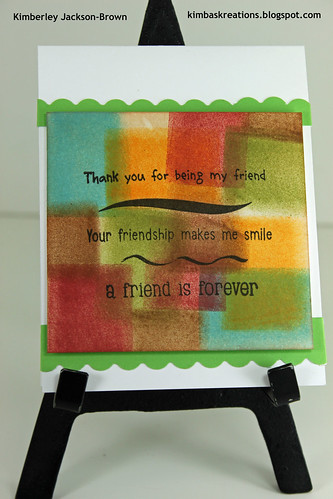
Today's card is CAS (Clean and Simple) and what I love most about this type of card, is the fact that the stamped image remains the focus of the card. Here I used a stamp by HeroArts - Decorative Birds. These birds are too cute. I also did another technique called Paper Piecing - I stamped the image on pattern paper, cut out the wings and then adhered them to the original stamped image....I also added some glossy accents for shine.....
Thanks so much for stopping by and have a great weekend!
Kimba :)
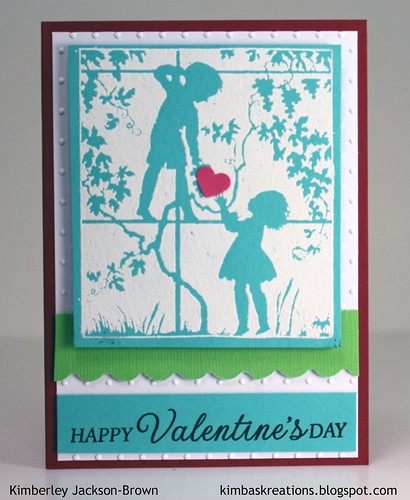
HOW-TO Instructions
Step 1: Card base measures 4.25 x 5.50 - Red
Step 2: 2nd Layer measures 4 x 5.25 - Emboss using CuttleBug and Swiss Dots Folder
Step 3: Punch out scallop square using punch - Black
Step 5: Stamp bird image on pattern paper. Cut out its wings and adhere to bird. Add Glossy Accents
Step 6: Punch out heart and adhere to bird's beak
Step 7: Stamp word sentiment. Add gemstones